

How To Sell Giclée Prints : Iris Print Company
How To Sell Giclée Prints : Iris Print Company
I have been ask quite a lot, “how I go about selling prints of my artwork”; either because some people want to actually purchase a particular drawing I have done or because they are artists themselves and want to know how to go about the process. Well, unfortunately I have never sold any of my art and I am unlikely to do so, nor have I ever had professional prints made of my work, so in the interest of being able to help people out and answer their questions, I went through the process myself.
I reached out to a company called Iris Print, who I found on Facebook or Instagram, checked out their website and then fired off an email to them. However, before we go any further, I am not in any way being paid or sponsored by Iris Print, in fact as I mentioned, I contacted them not the other way around. Also, spoiler alert; I always refrain from actually recommending a product I review, I prefer to simply state the facts and leave the deciding down to you as an individual, but I am breaking that rule on this occasion, I highly recommend Iris Prints. Although you now know my opinion of the company and their service, let me explain the reasons why.
A couple of years ago when I started drawing, I had heard about artists creating prints of their work and selling them on, but the term Giclée was banded about and I had no idea what it was or what it meant. After doing a bit research, I soon discovered that it was and I will explain to you guys in a second, but after trawling all the printers in my home town Durham and some in other Cities close to me, so many of them had never heard of the term never mind provide the service. As the years went on and I was letting more and more people down by not being able to help them or answer their questions, I finally decided, enough was enough and I was going to investigate this process and go through it for myself with my own art.
What Does Giclée Mean
In the most simple form, Giclée is an incredibly high quality print of your original art work, but according to Ian from Iris Print, the amazing guy I had been dealing with from the very beginning of this process and walked me through the process using simple easy to follow terms, this is what a Giclée Print is
“A Giclée print is a high quality, high resolution reproduction print of the original artwork using archival pigment inks and archival fine art paper. the Fine Art Paper is acid free and a Giclée Print will be lightfast and will last for 100 years without fading”
Or you can look at the Wikipedia definition of Giclée, which in all honesty is pretty identical to Ian’s from Iris Print, with a few extra interesting tidbits of information for good measure
“Giclée (/ʒiːˈkleɪ/ zhee-KLAY) is a neologism coined in 1991 by printmaker Jack Duganne for fine art digital prints made on inkjet printers.[1]The name originally applied to fine art prints created on a modified Iris printer in a process invented in the late 1980s. It has since been used loosely to mean any fine-art, most of the times archival, printed by inkjet. It is often used by artists, galleries, and print shops to suggest high quality printing, but since it is an unregulated word it has no associated warranty of quality.[2]”
As you can see from the Wikipedia definition, Giclée printing is a relatively new thing in the world of art and so if it is a term you did not know about or hadn’t heard used before, please don’t worry, many others haven’t heard of the term just as I hadn’t until recently.
Why Create Giclée Prints
Before getting into Iris Print and the service they provide, I guess the other question that may be on your mind is why create prints or Giclée prints of your artwork in the first place?
No matter what medium you work with, if you intend on selling your work or if you create commissions to order, you will already know and understand the importance of using lightfast products. All this means is that whether you create your art using watercolour, colored pencils, pastels etc, ensuring that the pigments and paper you are using will remain bright and vibrant for a long time is essential. The last thing in the world you want as an artist, is to create a beautiful piece for someone, be it direct commission or just selling to the public and have them come back to you in a few years time complaining that their once beautiful work of art has faded. This would be terrible for the future of your art career as few people after this reached the Chinese whispers of social media would trust you to paint a loved one or special land mark etc.
With that being said, when you spend days, weeks or even months creating a masterpiece and using your incredibly expensive supplies, at the end of the process you only have one piece to either sell or keep. Once you have sold that piece, that is it, it is gone and whatever money you earned from the piece I am sure being an artist will get eaten back up quite fast on replacement supplies you just used for the piece you have sold. I am not going to talk about actually pricing your art in this post as I have never done it, but there are some wonderful artists out there who explain pricing your work etc and one such artist is Lisa Clough from Lachri Fine Art, follow the link to her site and search for “selling your art” and you will find excellent tutorials on the matter.
If you have just completed a commission for someone, be it a pet, portraiture of a loved one, something really personal like that, then you will obviously only be able to sell the original off to that customer. However, if you paint a beautiful scenery, botanical art, fan art etc, something that is not personal to one individual and appealing to many, then this is were creating professional prints will come in really useful and help to make you a little bit more money.
You can go a few ways with this process, you can keep the original for yourself and just sell prints, or you can sell the original for a substantial sum to a fan of your work or collector but continue selling prints at a much lower cost. When you decide that you want to sell prints, you can either chose to sell them under the banner of “Limited Edition” or “Open Edition”. Limited Edition simply means you print a certain number of prints, fifty or one hundred, whatever you feel you can sell, as and when you sell a print from that limited number, you would include a certificate of authentication, indicating that the particular print they have just purchased is print 2 of 50 or 23 of 100. Obviously in doing this it can again add a little bit of extra value to your prints as it also adds a bit of exclusivity, but you must play the game and only sell the number of prints you initially state. If you say it is print 1 or 100, once the 100 prints have sold, you can’t really in good taste think, I need a bit more money so I will print off another 100, this would be horribly dishonest and would obviously damage the wonderful reputation you had been building.
To sell print Open Edition is simply the opposite of limited edition, you essentially sell prints as and wen requested, but of course, you are removing the exclusivity and thus reducing the value of the print ever so slightly.
Although prints are clearly not the original, it is still vitally important that your prints or of the highest quality and that even your print customers are obtaining a high quality work of art to hang on the wall of their home, something they can sit and admire for the entirety of their life and pass it on to their loved ones.
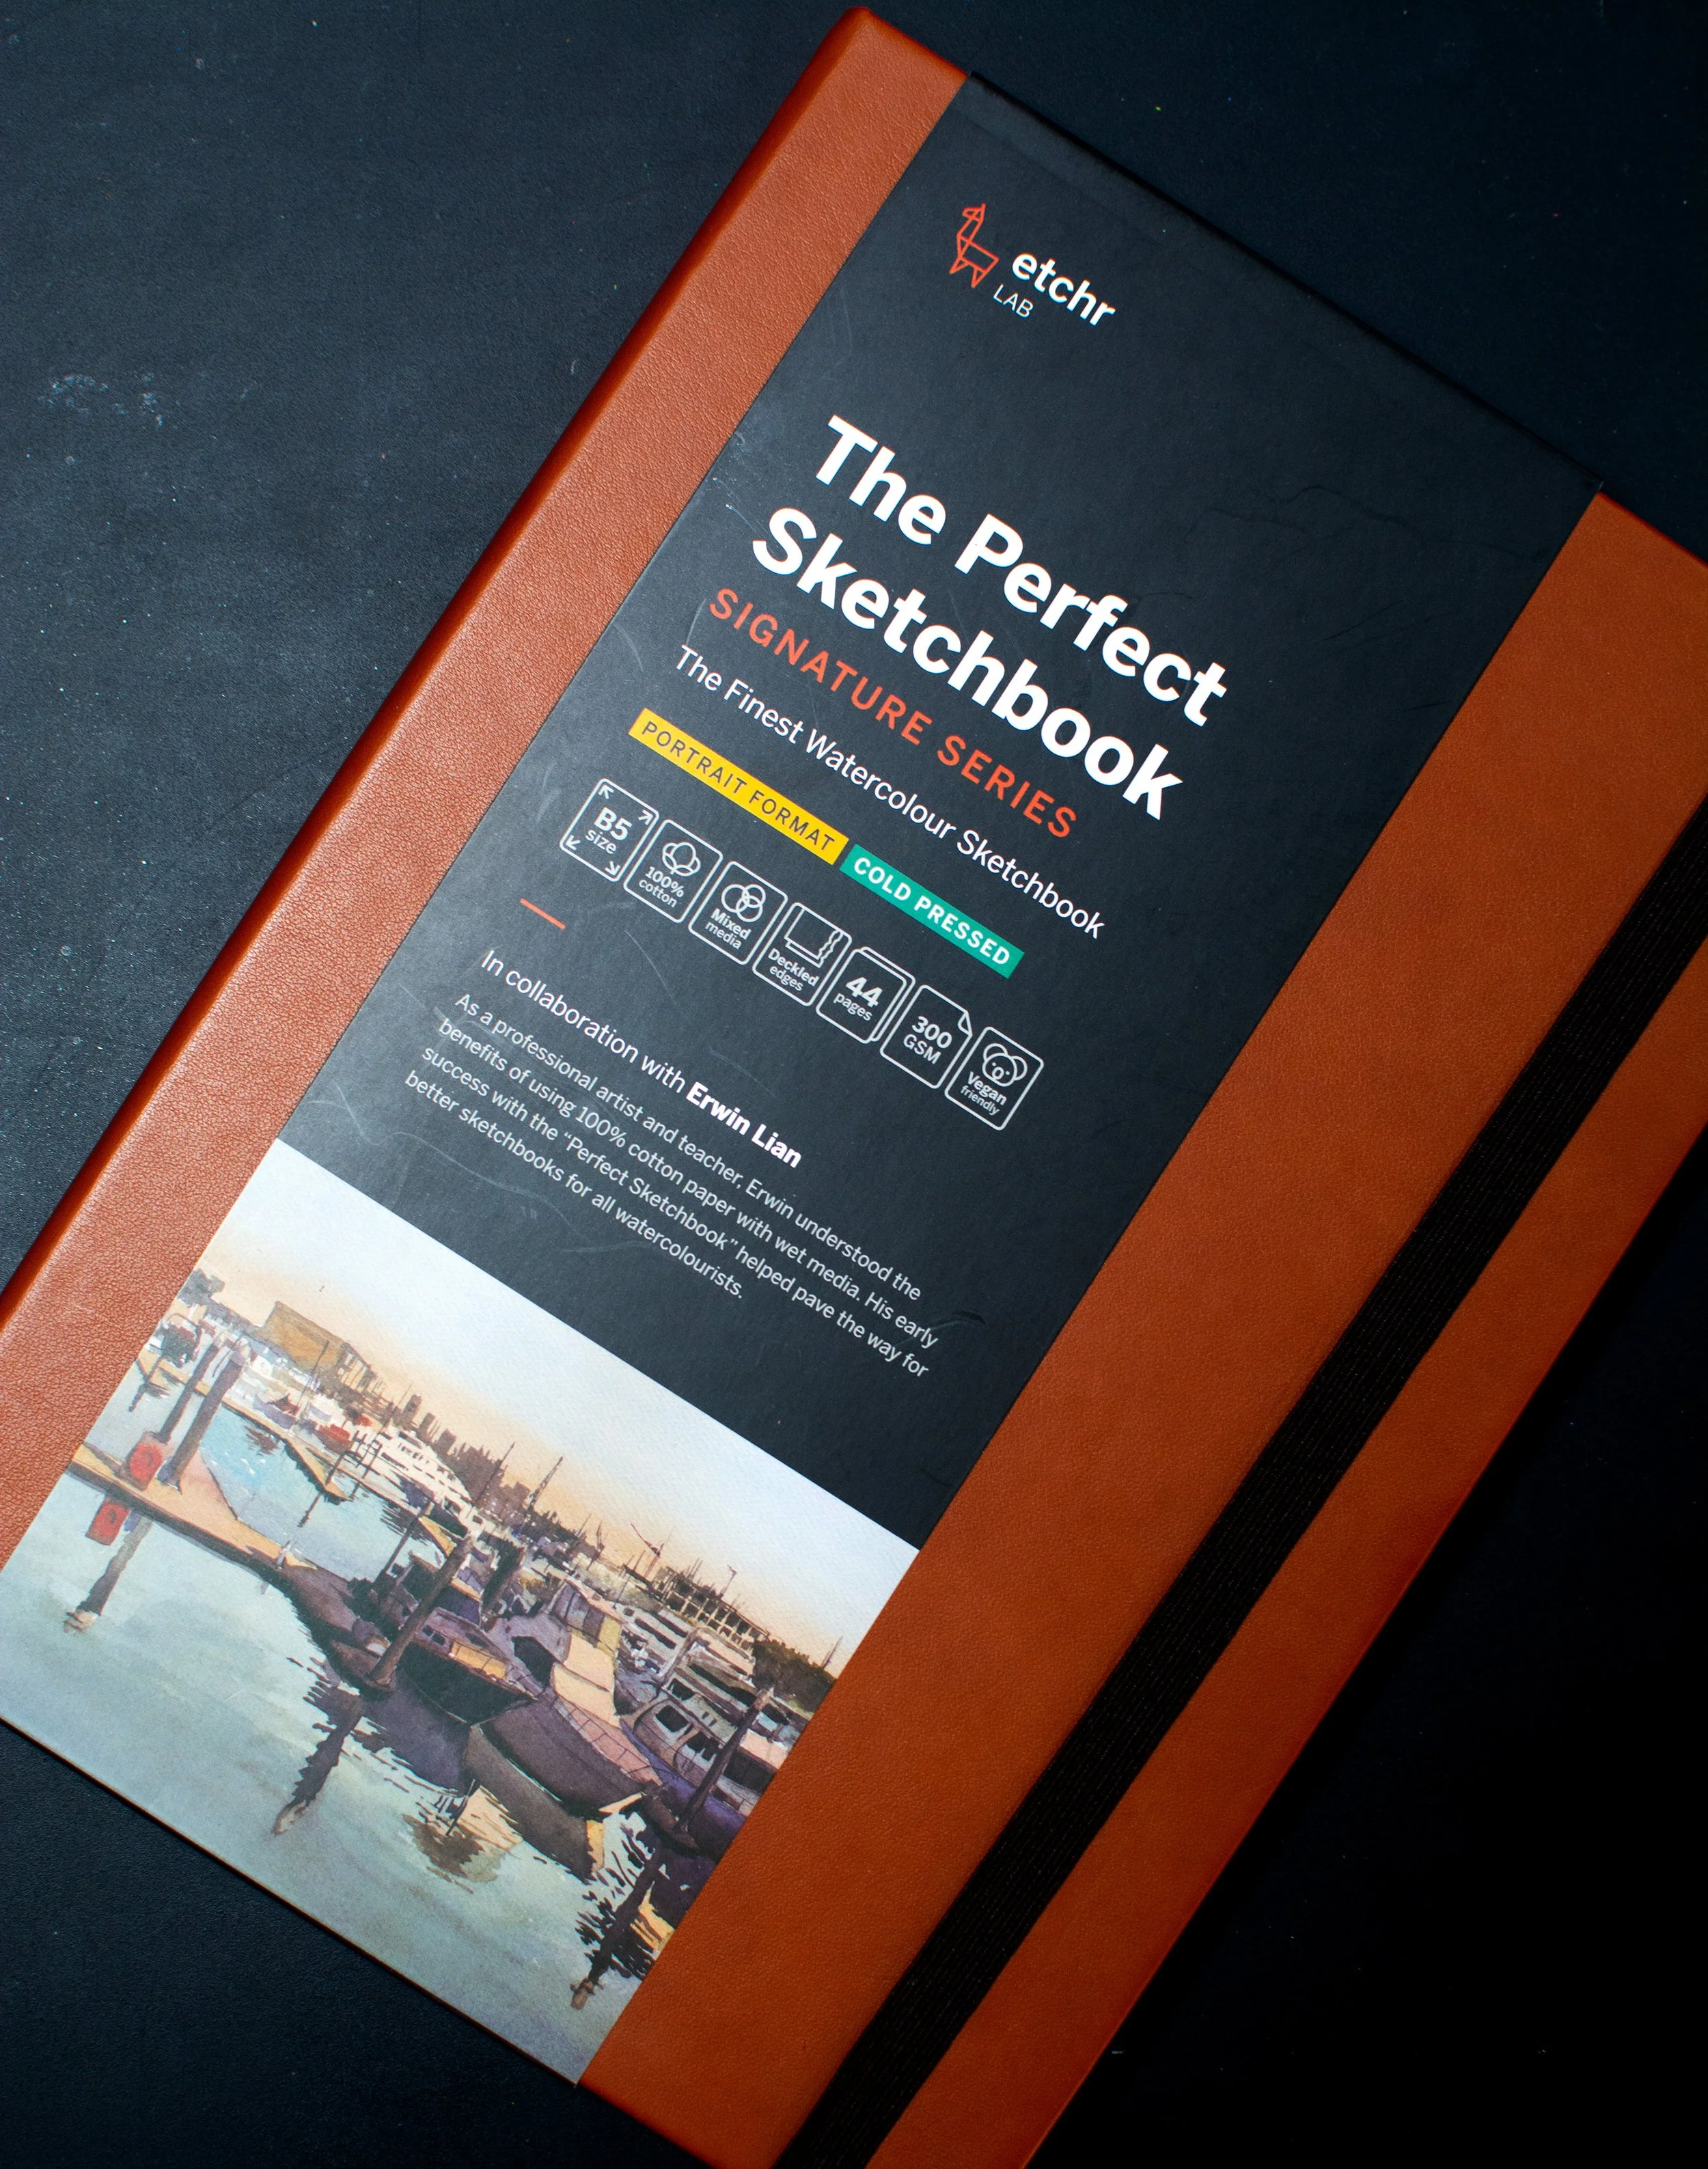
Iris Print Sample Pack Service
When I first reached out to Iris Print and explained my situation, basically what I have wrote at the beginning of this article. It was at this very early stage of my relationship with Iris Print that I knew, this was a company who worked to high values and embraced all their customers regardless of work order through them. I spoke to Ian via email and he explained to me that before placing orders, it was a good idea to take a look at the various paper types on offer.
I am going to show you the different papers that you can order to have your artwork printed on, however, there is no point in me talking about pricing because this depends on so many variables; the size of the paper, in my case A4 with a 20mm border, so essentially slightly larger than traditional A4. On my prints the 20 mmm border is additional to the A4 size, but you as the customer can state whatever size you desire for your prints. I will tell you how much my prints would cost and it will give you an idea of the financial profit you may be able to garner.
Whilst explaining the various paper types, I will display images of the paper and each paper type has artwork or a photo printed on them, in which case I will also be mentioning the artists in question, simply because I am displaying their work on my video and I think, despite the video being about the paper and not the art, it is important to credit the artists work. Of course, you will not be able to get the full benefit of the paper via my photos, but they will help you to get an idea of what is available should you contact Iris Print and request a sample pack, which I really recommend you doing.
280 gsm Soft White 25% Cotton Fine Art Paper : Artist The Macneil Studio
210 gsm Décor Smooth Art Paper : Sam Cannon
360 gsm Fine Art Matt Canvas : Sample
230 gsm Smooth White Matt Art Paper : Artist Colin Carter
310 gsm Exhibition Photo Baryta : Artist John Godwin
315 gsm Soft Textured Natural White 100% Cotton Fine Art Paper : Artist Lara Bowen
310 gsm Hahnemühle German Etching Fine Art Paper : Artist Drew Darcy
310 gsm Hahnemühle Photo Rag Bright White 100% Cotton : Artist Ben Wood
180 gsm Matt Coated Poster Paper : Artist Johnny Pugsley
300 gsm Pearl Premium Photo Paper : John Godwin
315 gsm Natural Soft Textured Fine Art : Sample
Of course you can check out my YouTube video talking about Iris Print and showcasing the various paper types on offer if you would prefer
Your Own Art
Once you have selected the paper you want to use for your prints and I would suggest to select two or three different paper types to offer to your customers and the point of them ordering, but once you select them, you need to send a digital image of your art work.
This is probably the hardest part of the entire process, for Iris Print, they prefer to have digital images sent to them in the file formats TIFF or JPEG, other printers may vary so it is important to always check. But the onus is on you the artist to take the very best image of your work that you can, whether that be by scanning the work or taking a photo of the work using a digital camera.
When you take a photo of your image, I would suggest a few tips, these are just my tips and not by any means the only way to take digital images of your work. The first thing you need to make sure is that you have adequate lighting, preferably daylight, if the weather is nice and you have a safe place to take the image, take it outside, failing that use proper daylight lights indoors. If you use a conventional light from a yellow soft glow light, your colors will be altered.
Also take the images in RAW format, this allows you to edit them easier and more naturally when you import the images to Photoshop or other photo editing software. Also if you can use a tripod, the tripod will ensure that there is no movement whatsoever when taking the photo which will prevent blurring, you can take this one step further and use the timer on the camera. Most cameras have a timer function and this is a good option to use when taking your images because even if the camera is on a tripod, you can still accidentally create movement when clicking the button to take the image. Using the timer function eradicates all possibilities of movement.
Make sure the image is on a flat surface, so either against a wall or on the floor. The actual background color desert matter, so long as it doesn’t show through the paper, but color around the outside of the image doesn’t matter as you will crop the image in the photo editing suite of your choice. Personally I don’t use a flash on my camera, if you have all the other lighting elements right, you will not need a flash. Sometimes the flash can create problems that will show up on the image and be difficult to remove.
Once you have completed this step you can send it off to Iris Prints, along with the paper type and size you request and how many copies you would like to have printed.
My Own Personal Art
Although the sample pack was awesome, I obviously wanted to see my own art printed professionally and so I selected two images to have printed. I chose my Captain America drawing and my more recent Baby Yoda and Mandalorian drawing. I wish I had of sent in one of my botanical pieces as if I ever did sell my work it would more than likely be the botanical art due to the copyright issues surrounding fan art.
For both images, I got both Captain America and the Baby Yoda done on the 230 gsm Smooth Matt paper and the glossy type paper 310 gsm Exhibition Baryta . Again to see the prints properly, check out my YouTube video review where I place them side by side for comparison.
With regards to pricing, I can only really let you know the prices that my prints cost and from there it might give you an idea, however if you are interested in doing this yourself, Iris Print will be more than happy to help you with all the relevant information once you let them know what you are wanting done.
The glossy prints, the 310 gsm Exhibition Baryta paper, A4 size with an additional 20 mm boarder cost £8.00 per print plus VAT so total cost would be about £9.40. With each print costing this, if you sold your prints at approximately £20 give or take, you would make a decent profit. Plus after showing you the quality of the work from Iris Print, I really feel that £20 is reasonable.
For the matt type images, 230 gsm Smooth Matt Art Paper, A4 with an additional 20 mm boarder, these prints cost £3.79 per print plus VAT, so total cost £4.45. At this price per print, being careful not to let greed creep in, I think selling your print at £15 or £20 again would be a good price given the quality.
Iris Print Conclusion
I have to say that when I first started out on this process I was a bit dubious, mainly because when I started looking about in my home town I couldn’t find any services dn even when I asked about Giclée printing, some of them had never heard of it and others didn’t provide the service but knew what it was.
However, once I found Iris Print and started chatting with them, everything was simple and easy. I have no doubt that if this is something you want to do yourself, if you contact Iris Print, they will be more than happy to walk you through the process and help you as much as they can